Making facemasks: a step-by-step guide
You’ll need:
- Dishcloths which some people call tea towels (could use any cotton cloth but slightly thicker is better)
- 20 gauge metal wire cut into 2.5″ pieces (could use pieces of a thin wire hanger instead)
- Elastic cord (could use rubber bands or strips of cloth instead)
- A sewing machine
- Good scissors
- Crochet needle and sharpies
- Cardboard
I’m following the pattern for “Mask 2 (large)” on this webpage. But to be honest I found it hard to follow which is why I’m going to tell you quite plainly how to do this relatively quickly.
First, download and print this pdf: mask+2+large+pattern
Or simply eyeball the following picture with the ruler as a guide:
You’ll want to cut out the printed version and then outline it onto cardboard, then cut out the cardboard so you’ll have a form you can reuse a bunch of times with sharpies:
Then you outline with a sharpie on your dishcloth:
Next you cut them all out:
Next, pair up the cloth pieces to match:
Next, sew along the foot of those matched boots for both pairs with a 1/4″ seam:
And now put those two pieces together, with the seams on the outside for both pieces:
Next, sew all around the above piece (so sew the two pieces together) with a 1/4″ seam except for about two inches at the bottom seam:
It’s time to turn this whole thing inside out by squeezing it through that two inch slit!

Poke your fingers into all four corners plus the nose part at the top to make sure it’s all the way inside out.
Here’s the other side:
Next, sew a three inch line along the nose top (a 1″ seam) and stick the metal wire into that channel:
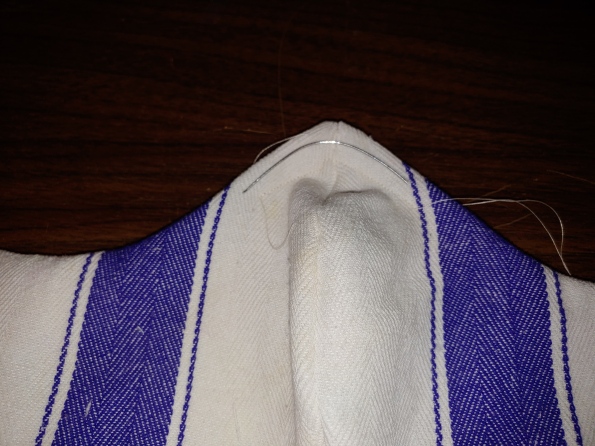
Do you see the channel? The wire has to go in this area except, of course, you need to have it on the inside.
Next, you want to sew along the entire edge (very close to the edge, maybe 1/4″), starting at one end of the nose wire channel. Halfway along you’ll carefully close the hole at the bottom:
Here it is at the end:
Next, you fold back 1.5″ of the ear flaps and sew down:
Next, measure out 1 yard of elastic cord and tie together the ends:
Next, use a crochet needle to pull through flaps and then tie it together:
Finally, yank the elastic cord until it’s hidden inside a flap and tidy everything up by snipping off the stray threads.
It’s ready for a cute model!


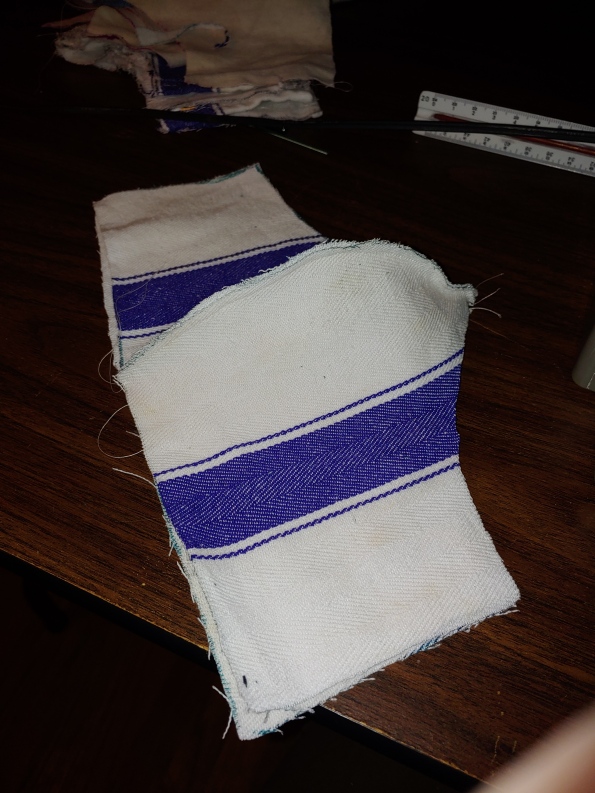

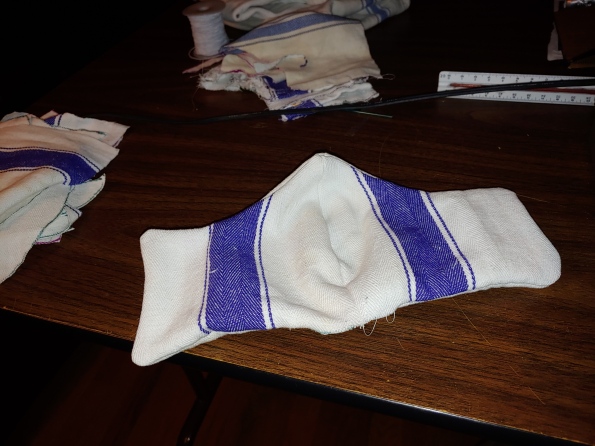


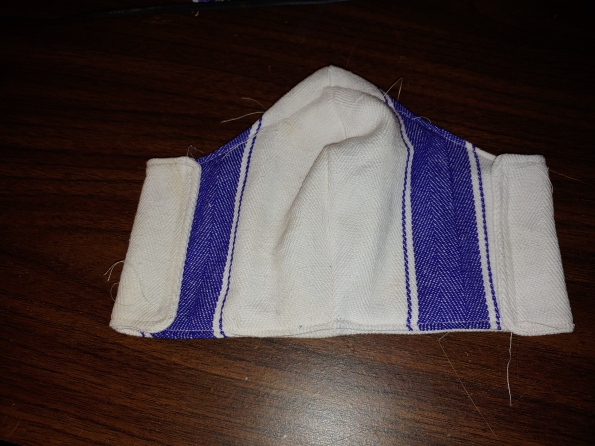


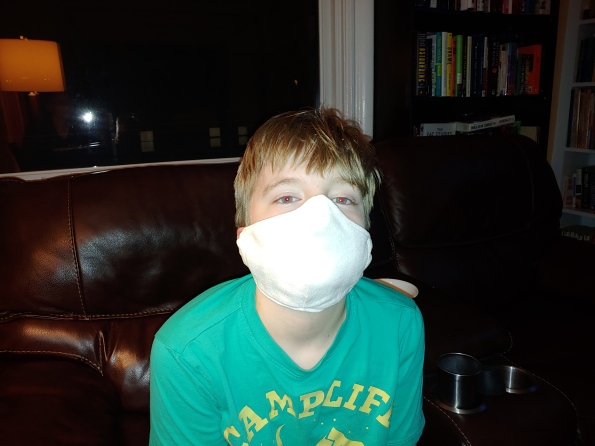


Thanks very much.
BTW, you say dishcloth but to me it looks like a tea towel. The former we may use to wash dishes and the latter we may use to dry dishes. The latter often is bought as a souvenir but never the former.
And which cloth or towel has the necessary electrostatic properties? And how do we maintain these properties during or after washing the mask?
LikeLiked by 1 person
I’ve updated the post but the amazon link definitely calls these dish cloths! No idea about electrostatic properties, but these are definitely machine washable.
LikeLiked by 1 person
I was hoping that the cute model would be you, Cathy!
LikeLiked by 1 person
This is a very helpful guide. Thank you.
LikeLiked by 1 person
Reblogged on Snowbird of Paradise.
LikeLike
Great idea!!
One problem, however: I asked my daughter, who is in her twenties, to poll her former classmates as to whether they have or can use a sewing machine. The results were not encouraging; only two women admitted to having a sewing machine or knowing how to use one. Many said that their mother had or used to have a sewing machine, but they were never taught to use it.
When I went to high school, everyone learned, either in home economics or textile shop. Junior high students were required to take one or the other.
LikeLike
St. Luke’s has a video and pattern for making an “Olson” cloth mask that can be used with a removable HEPA filter insert. It is close to N95 quality when the insert is attached to the face with two-sided tape. They were soliciting people who could make the cloth part of the mask for health care workers and evidently have had many responses in the past week. The insert can be made from HEPA vacuum filters if no better source exists. St. Luke’s provides their own insert for workers. Click the “show more” below the video for a link to the pattern. https://www.youtube.com/watch?v=jIAAAxn0lLo
LikeLiked by 1 person
Thanks for the detailed instructions, the facemasks are all sold out here so I’ll be following your step-by-step tutorial today. Thanks for the help!
LikeLike
Than you for these great instructions, your masks are more form-fitting and probably more helpful than some others I’ve seen. I wonder whether you could sew them by hand if you don’t have a sewing machine? Probably would take a long time though.
LikeLike